Fellowship Programme 2021 - Application Video Guide
Fellowship Programme 2021 - Application Video Guide
This guide is intended to help you produce your application video for the Fellowship Programme 2021.
Table of Contents:
Video Type
We are looking for a 6-minute long (maximum) voice-over slide presentation screencast. In your presentation you must address who you are professionally, what you do and what your plans are for the Fellowship. The content of your slides should be professional and the style of your slides should be suitable for assessment in a research and development environment. There are no restrictions on the number of slides you use.
Screencast Tools
You can use any screencast tool available for your operating system (see Wikipedia for a list of examples). We recommend Open Broadcaster Software (OBS) Studio because it works on Windows, macOS and GNU/Linux and is free and open source. Zoom is also a great tool for recording video presentations, which you can do with a free account.
Open Broadcaster Software Studio
Instructions to download and install are available at https://obsproject.com/download.
The first time that you launch OBS Studio, you will need to agree with the GNU General Public License Version 2 and opt-in to run the auto-configuration wizard. Before recording your video, you can configure where the video will be stored.
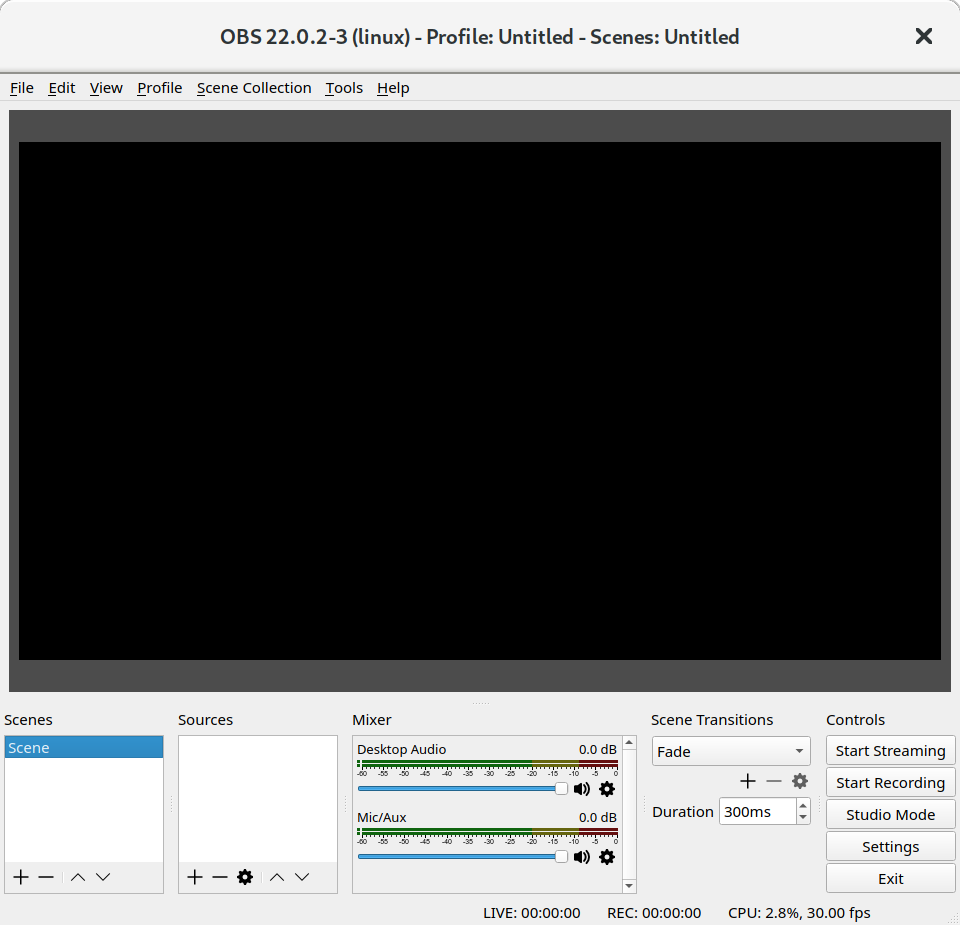
In the menu bar, select "Files" and "Settings".
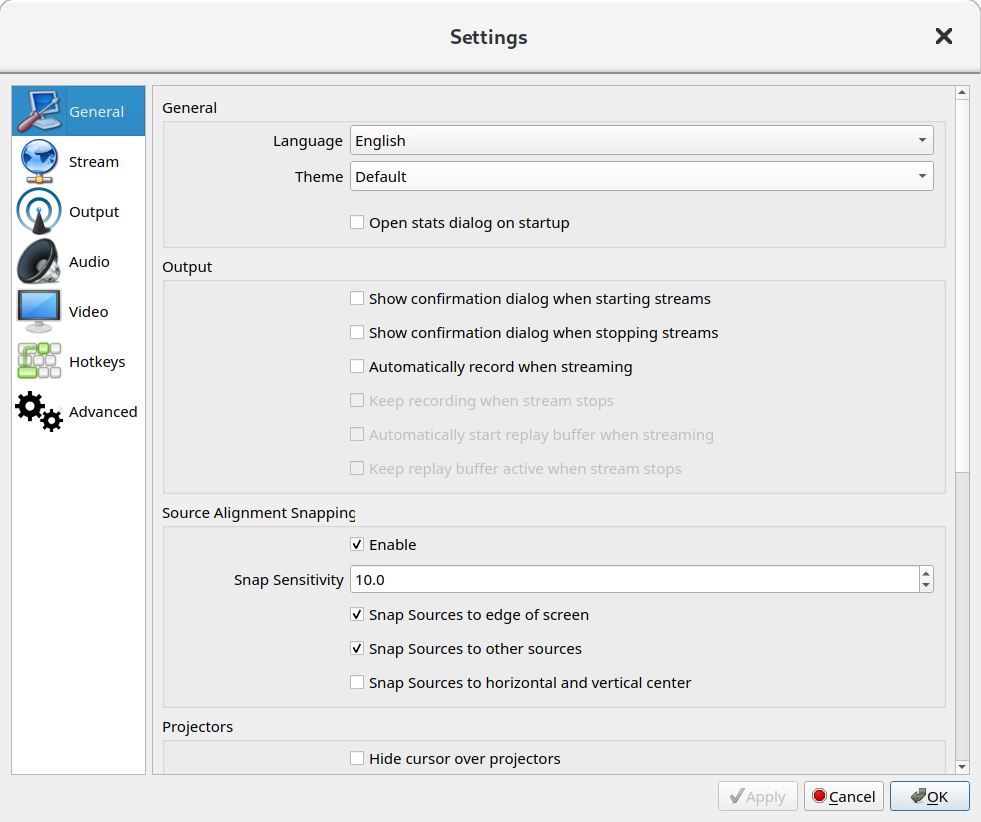
In the left sidebar, select "Output".
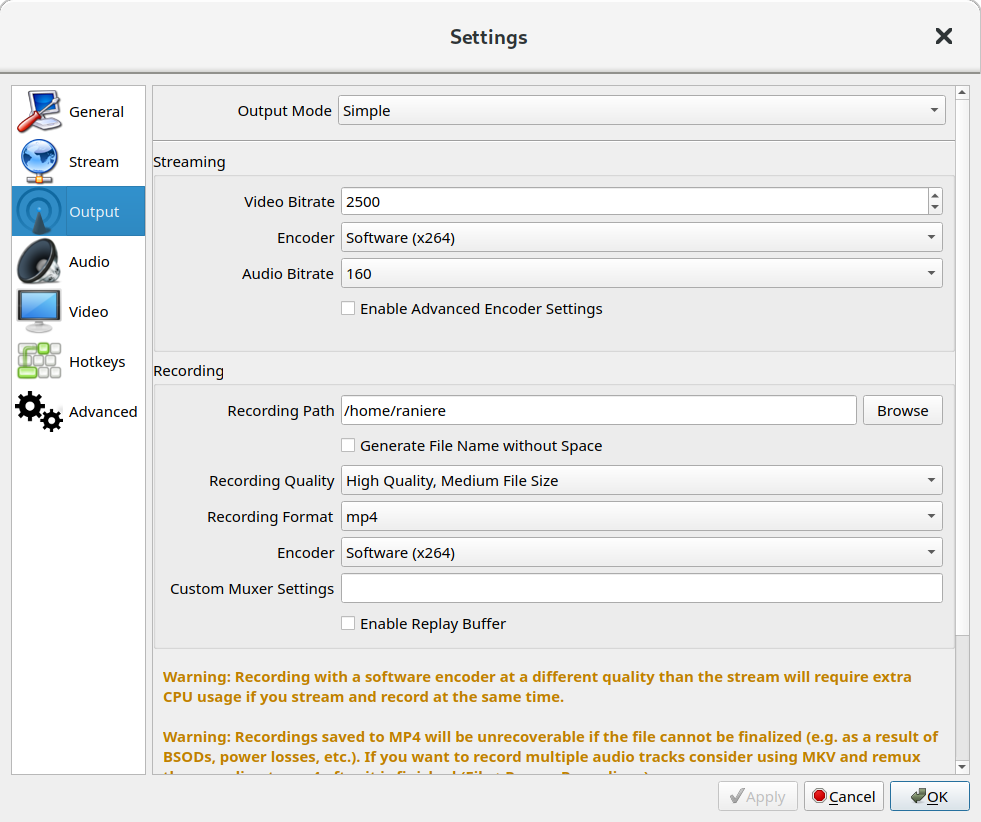
Under the "Recording" options, configure the "Recording Path" for where OBS Studio should save your video and select "mp4" as the "Recording Format". At the bottom right, click on "OK".
Back in OBS Studio, you need to add the "Sources" (second column from left to right, look for the "+" button). Add "Window Capture" and "Audio Input Capture".
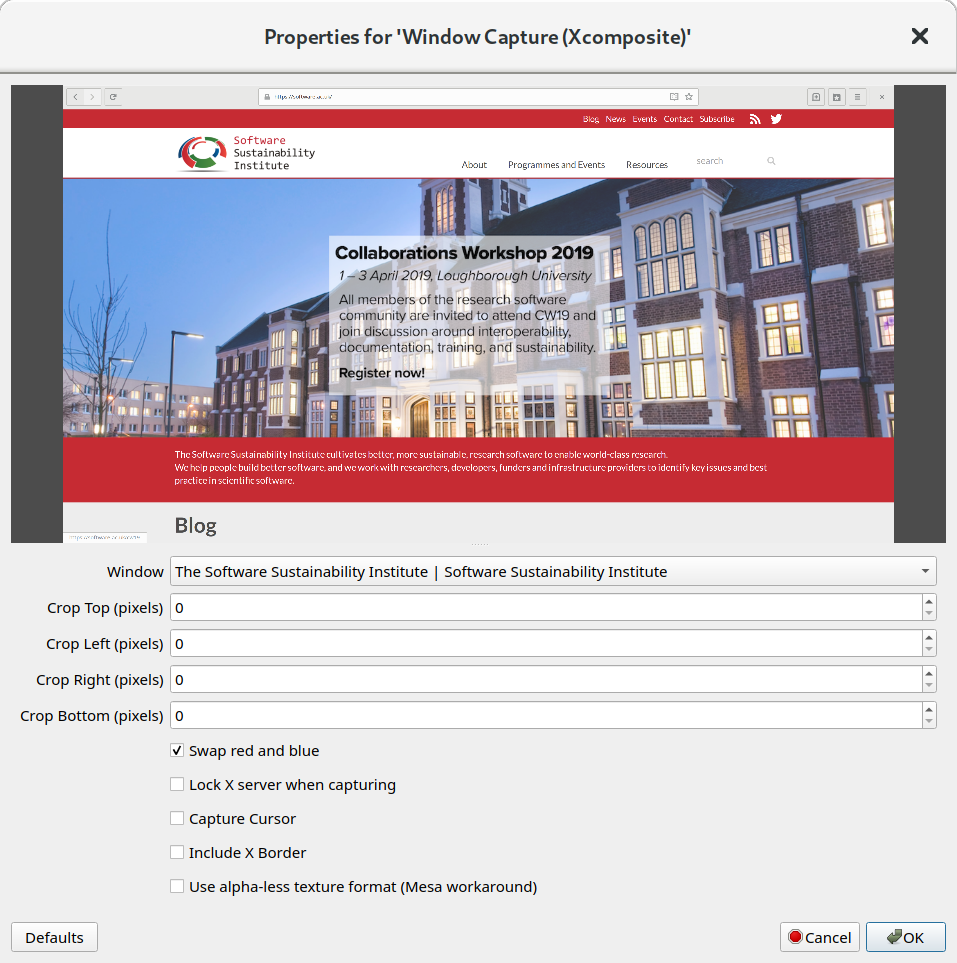
When adding the "Window Capture" you need to select which window you want to record. If you want, you can disable the "Capture Cursor". In some cases, the red and blue are swapped - you will notice on the preview. If this happens, you should enable "Swap red and blue".
When adding "Audio Input Capture", you need to select the device you want to capture. We recommend using an external microphone for better audio capture.
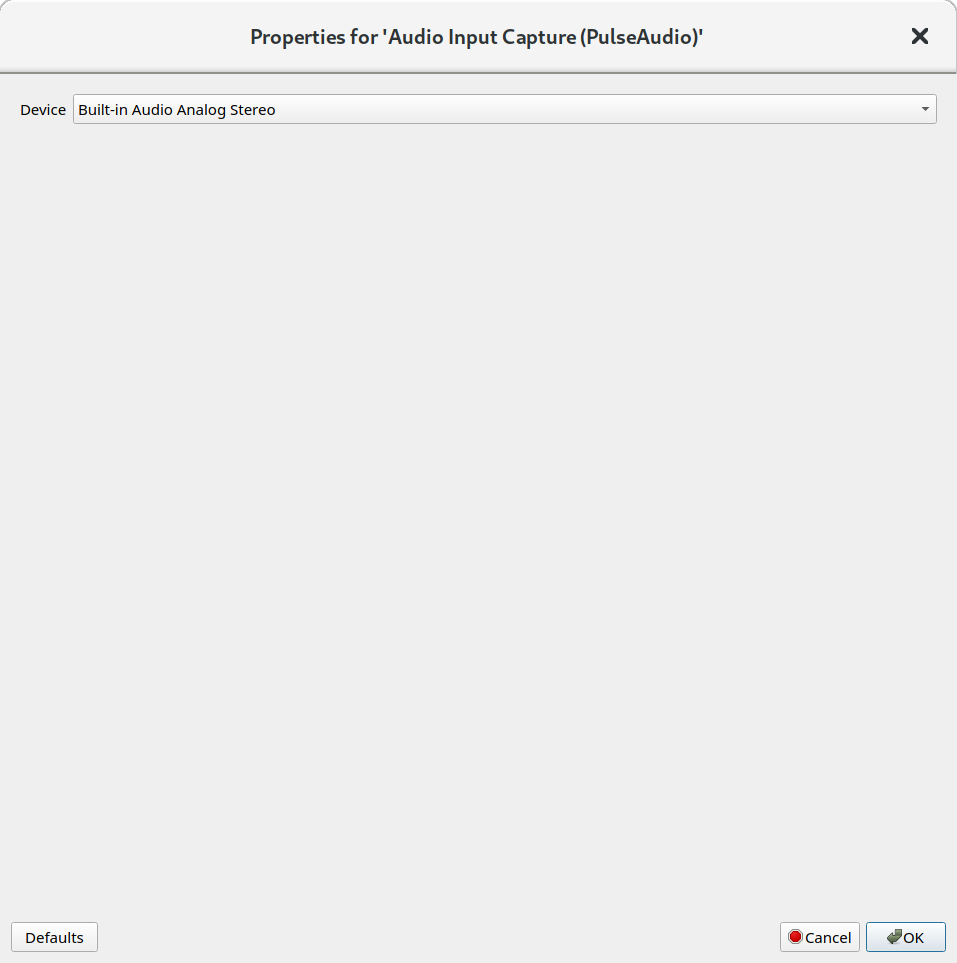
If you need to change the "Sources" properties, you can double click on the source to change it.
To start recording your video, click on the "Start Recording" button.
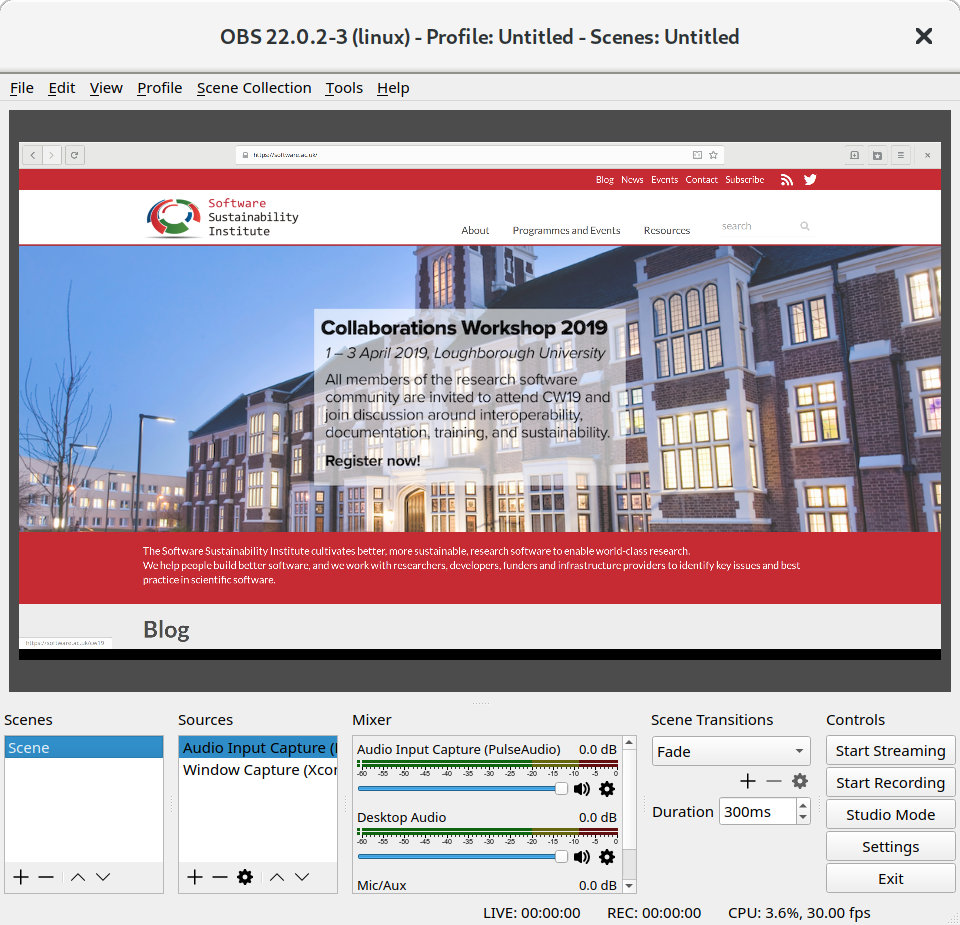
When the record starts, you will see the clock on the bottom change and there will be a button to "Stop Recording".
The last step is to check your video. Is the audio clear and loud enough?
Zoom
- Download and install the Zoom Client for Meetings.
- Open the Zoom app and click on “New Meeting”.
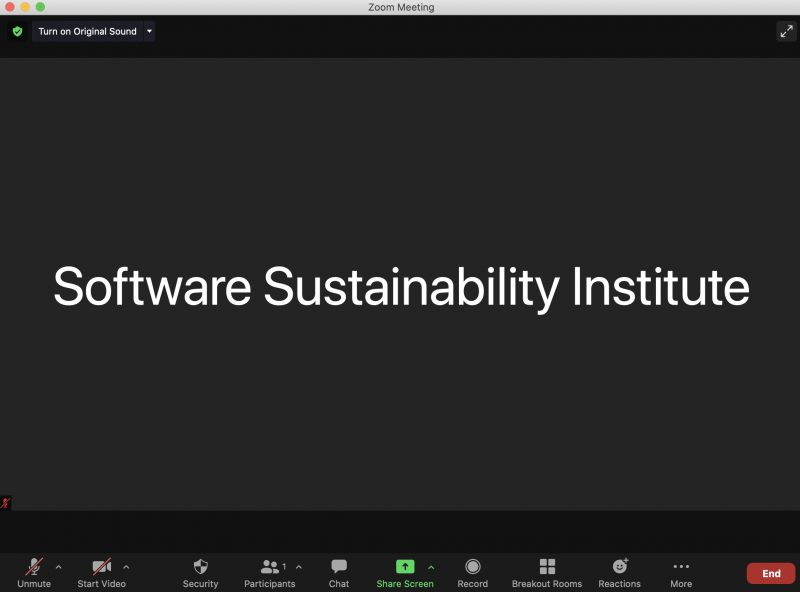
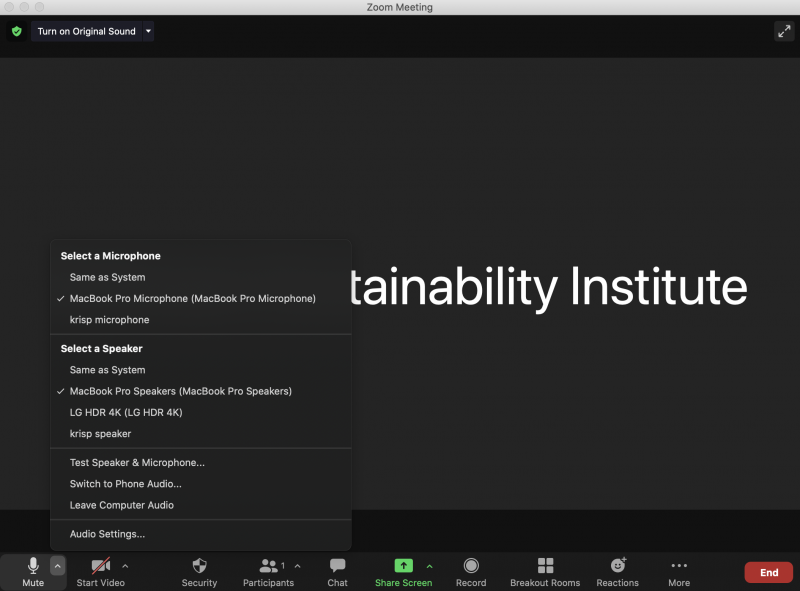
- In the meeting controls, make sure that your microphone is unmuted and click on the arrow (^) to make sure that the correct microphone is selected. We recommend using an external microphone for better audio capture. You can test your computer or device audio following these instructions.
- Next, click “Share Screen” in the meeting controls. In the share window, select the window you wish to use in the recording (your slide show, see these instructions for Screen sharing a PowerPoint presentation).
- If your presentation slides include sound, check the box for “Share computer sound”.
- If your presentation slides include video, check the box for “Optimize Screen Share for Video Clip”.
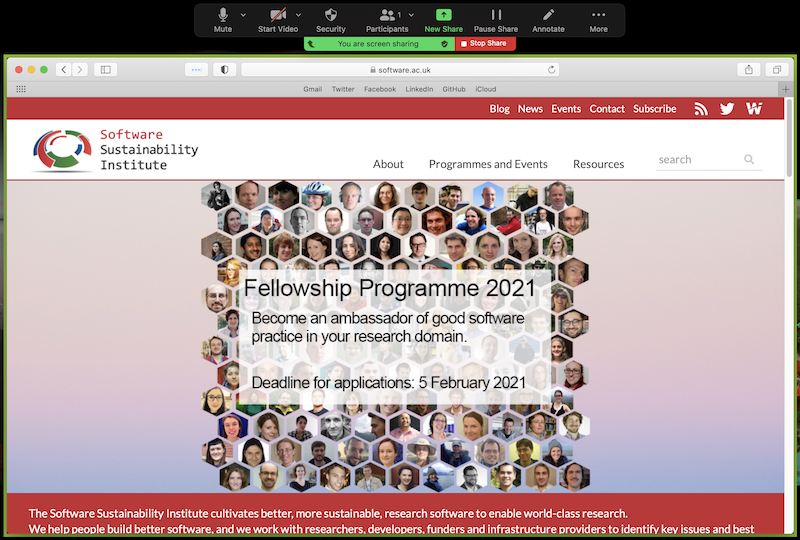
- Click the “Share” button. The window that is being shared/recorded will now have a green outline and the meeting controls will move to the top of the screen.
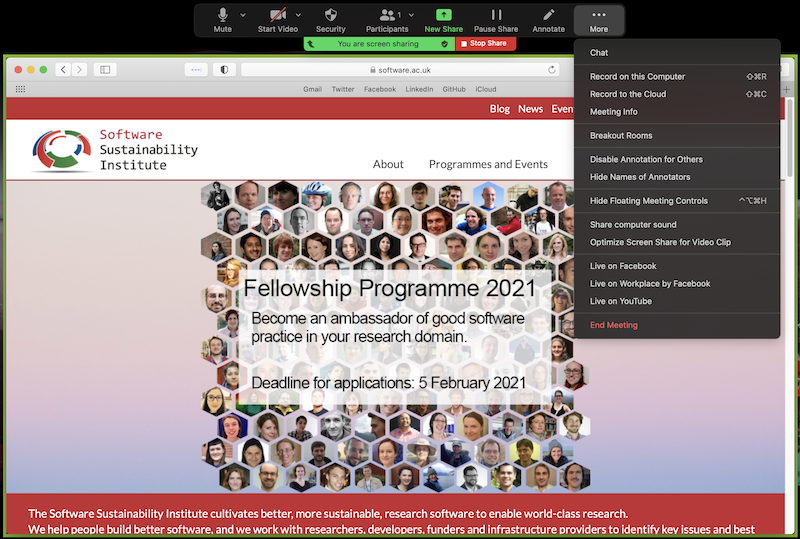
- To begin recording, click “... More” in the meeting controls at the top of the screen and select “Record on this Computer” (or “Record to the Cloud” if you prefer for the recording to be saved to your Zoom account).
- You are now recording and can start giving your voice-over. You can pause the recording by clicking “... More” in the meeting controls and selecting “Pause Recording”.
- When you are finished with your voice-over, click “... More” in the meeting controls and select “Stop Recording”. Then click the red “Stop Share” button.
- Click “End Meeting” and then “End Meeting for All” to exit Zoom. Once you have exited the app, your video will begin processing (locally if you selected “Record on this Computer”, or in the cloud if you selected “Record to the Cloud”).
- The last step is to check your video. Is the audio clear and loud enough?
Video Hosting
You can host your video anywhere that you prefer as long as we can download it by using the URL that you provide on your application form. Below you will find instructions on hosting your video on Google Drive or Dropbox.
Google Drive
Access https://www.google.com/.
Log in with your Google Account.
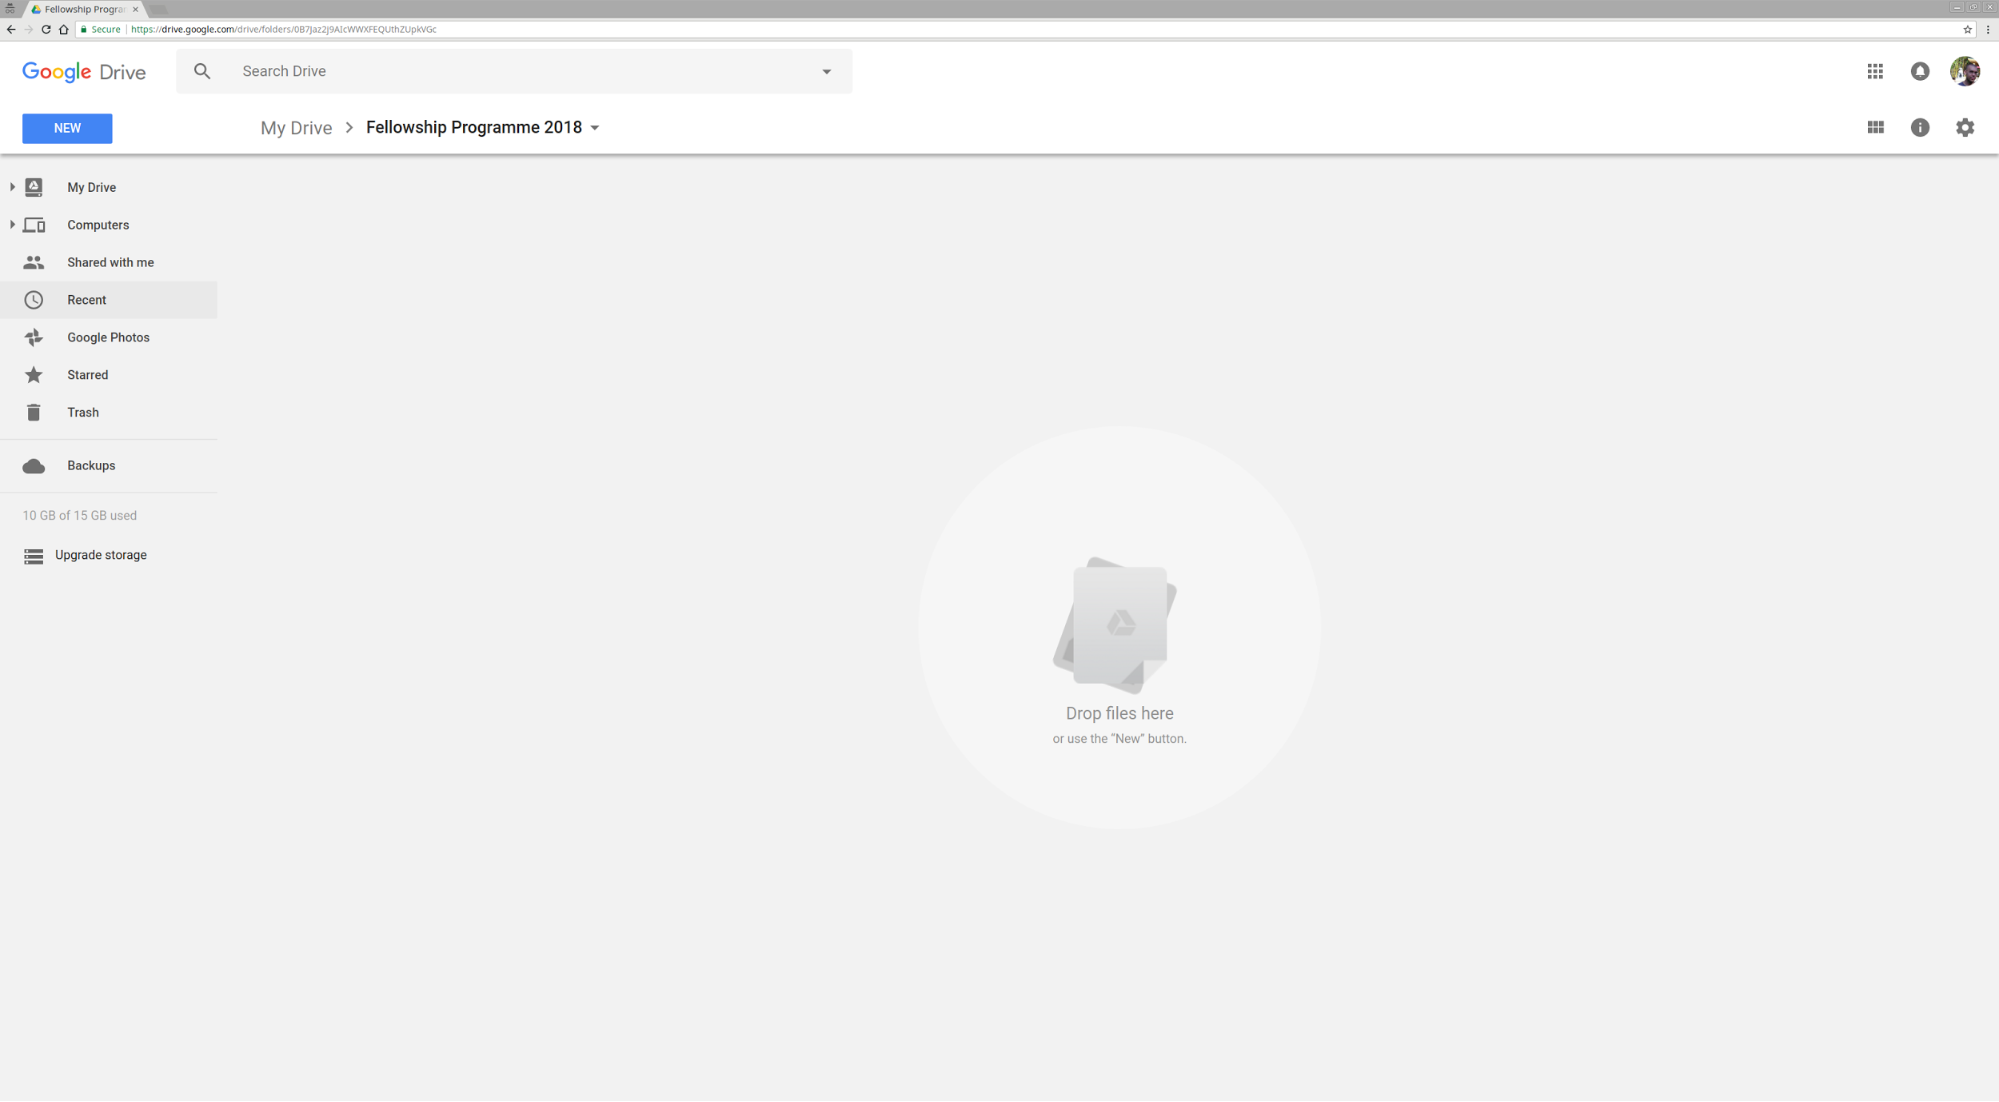
On the left side, select "New" and "File Upload". A window will open so that you can select the file you want to upload.
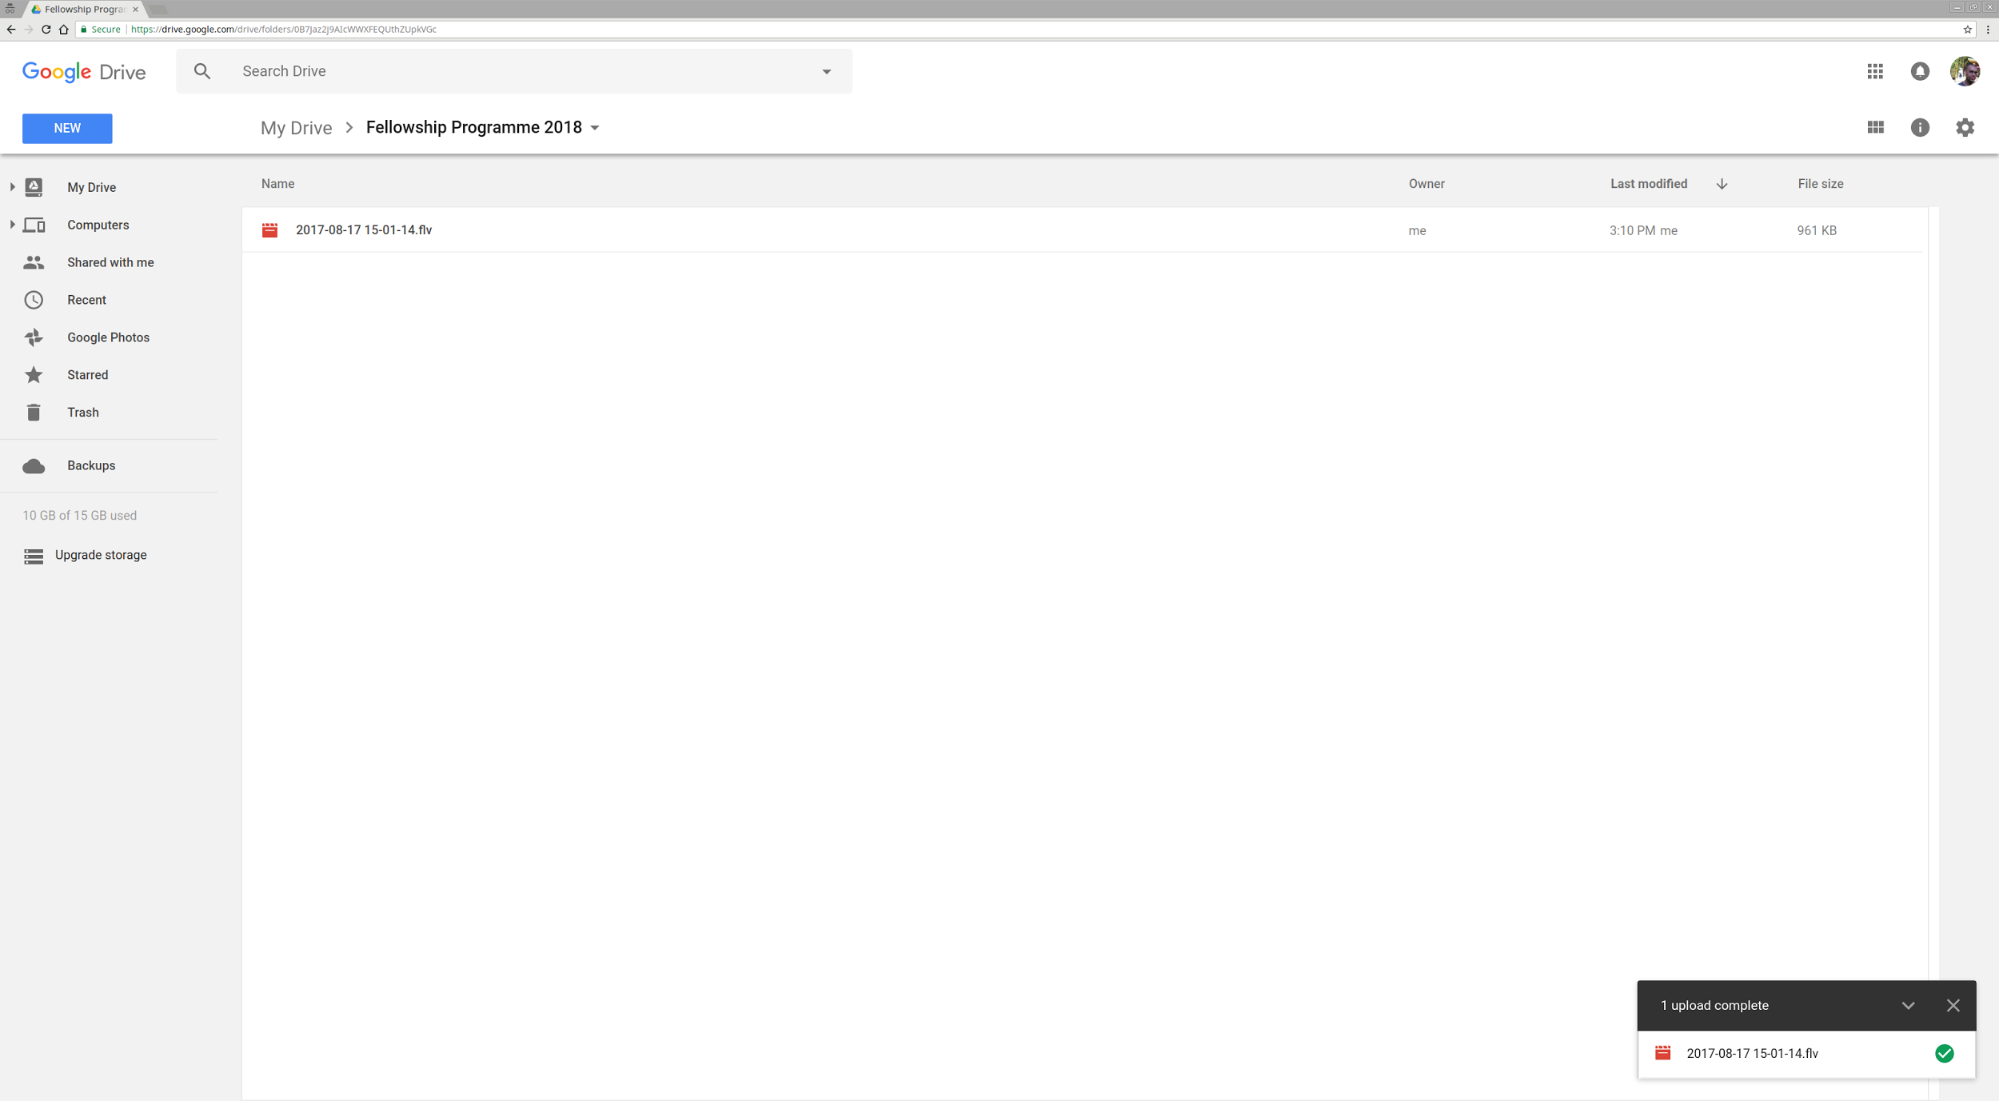
Select the file that you want to upload with a left click and open the option menu with a right click.
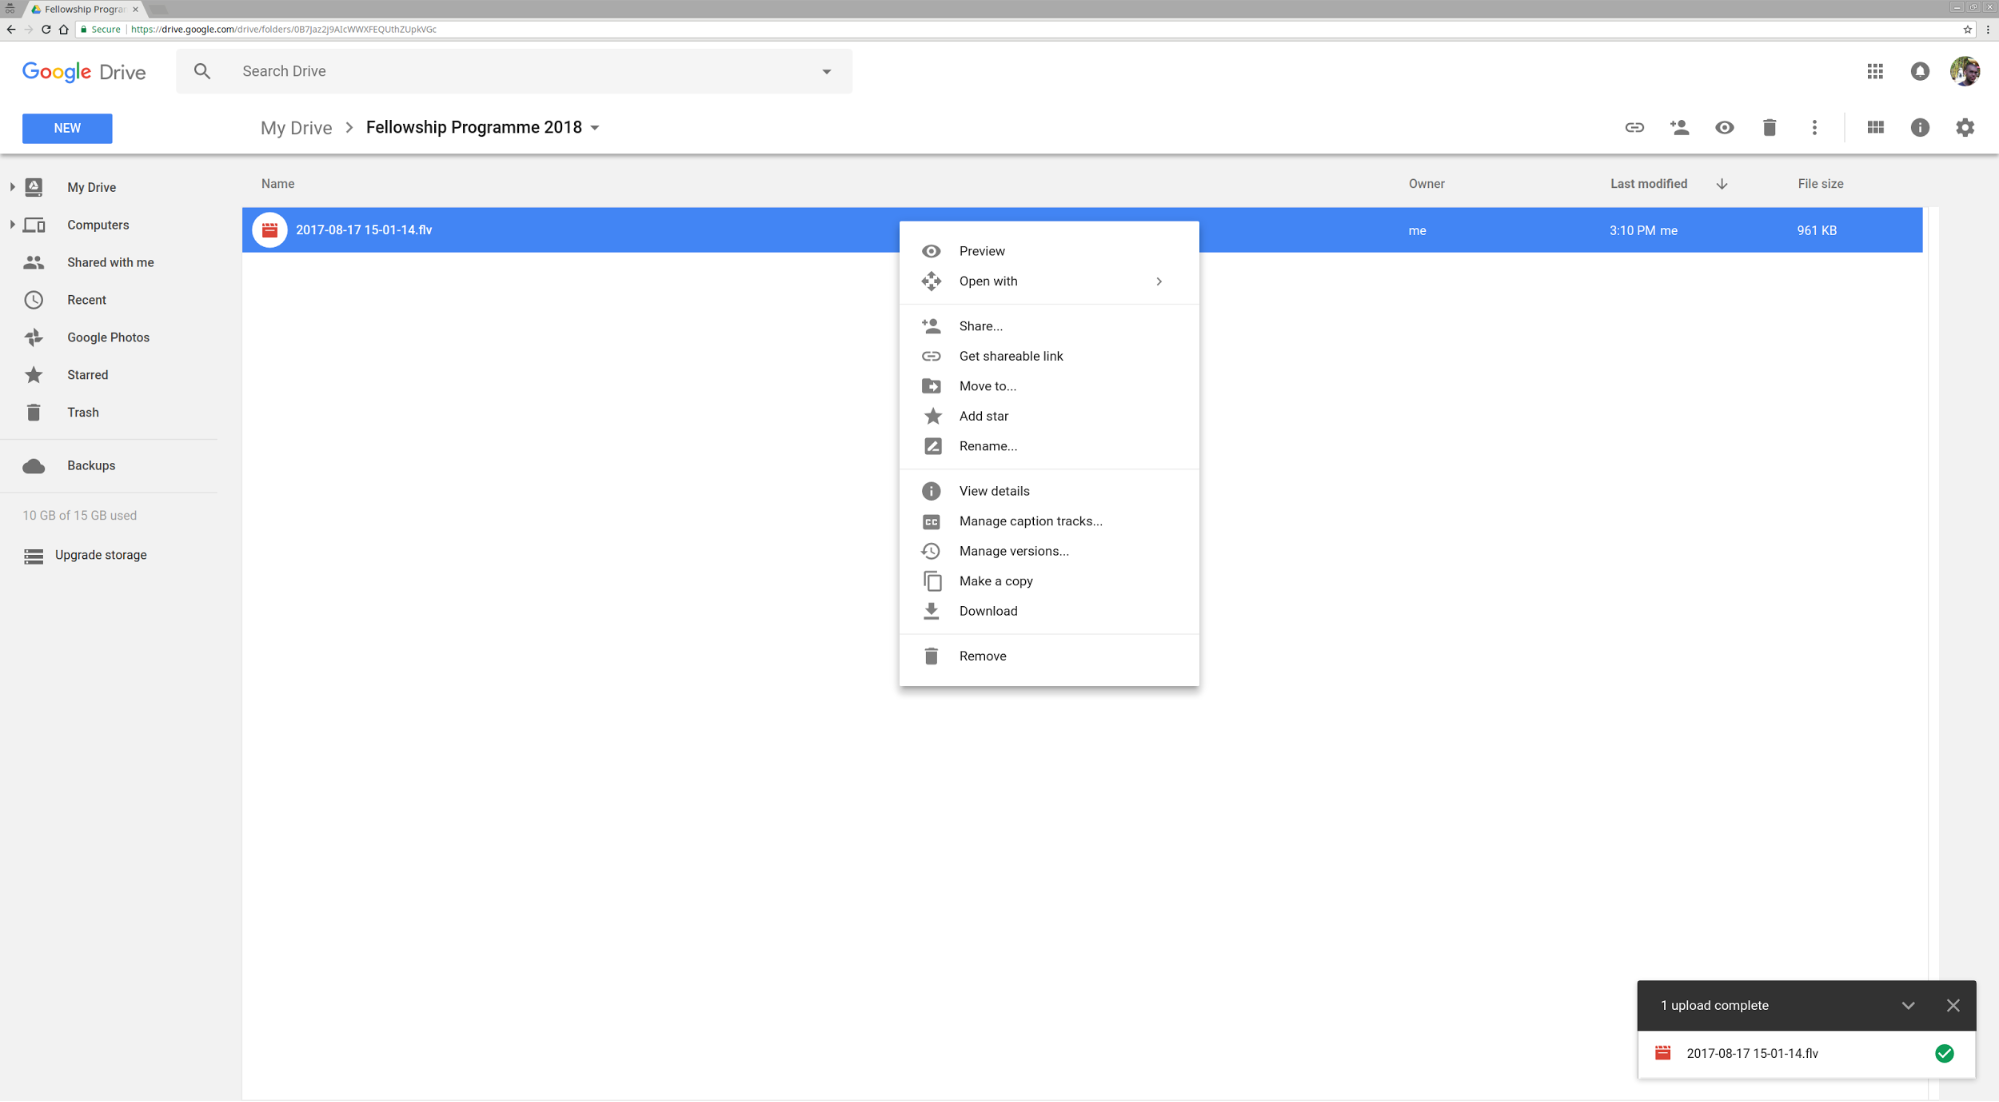
Select "Get shareable link". A balloon will show on the screen.
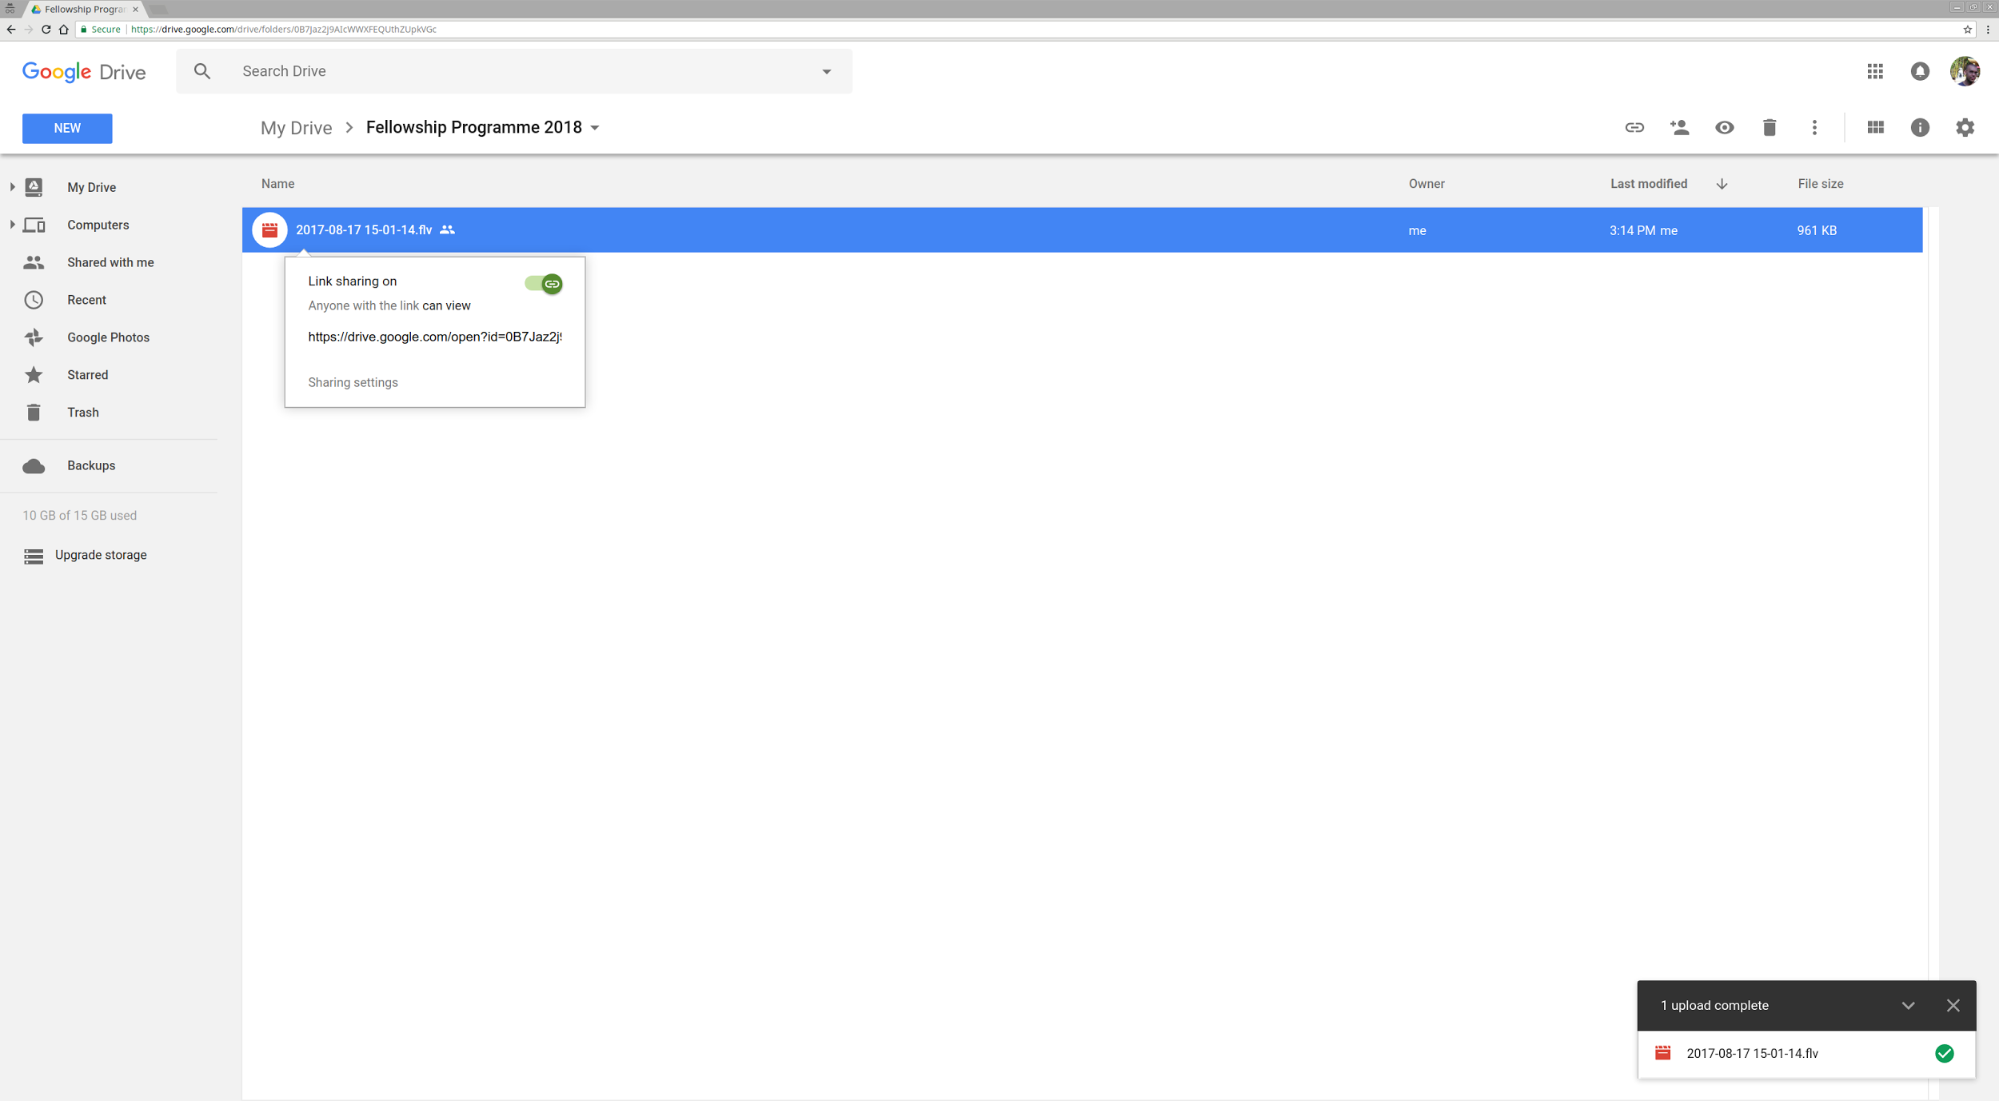
Copy the link provided on the balloon and paste on your application.
Note: We will change the link from https://drive.google.com/file/d/FILE_ID/edit?usp=sharing to https://drive.google.com/uc?export=download&id=FILE_ID so that curl can download your video.
Dropbox
Access https://www.dropbox.com/home.
Log in with your Dropbox Account.
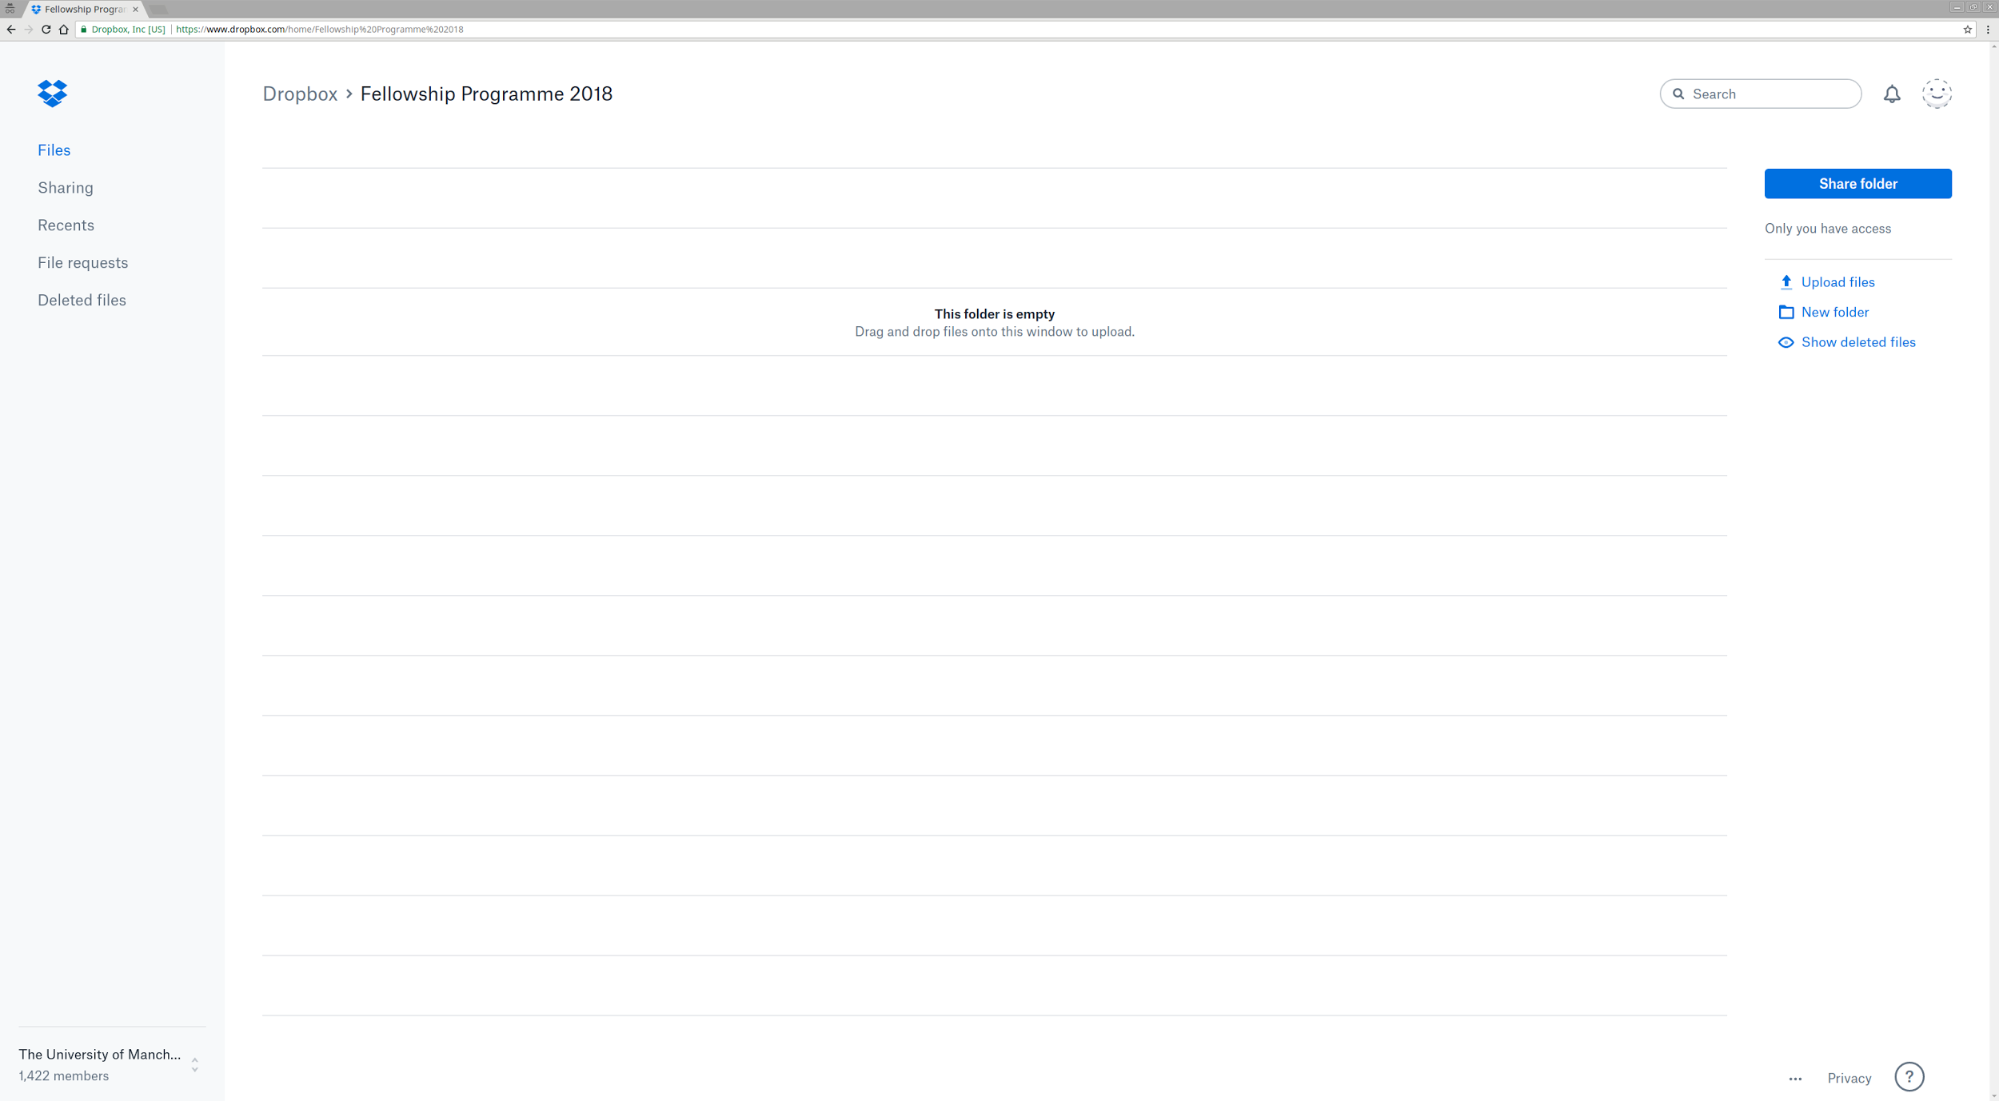
On the right side, click on "Upload file". A window will open so that you can select the file you want to upload.
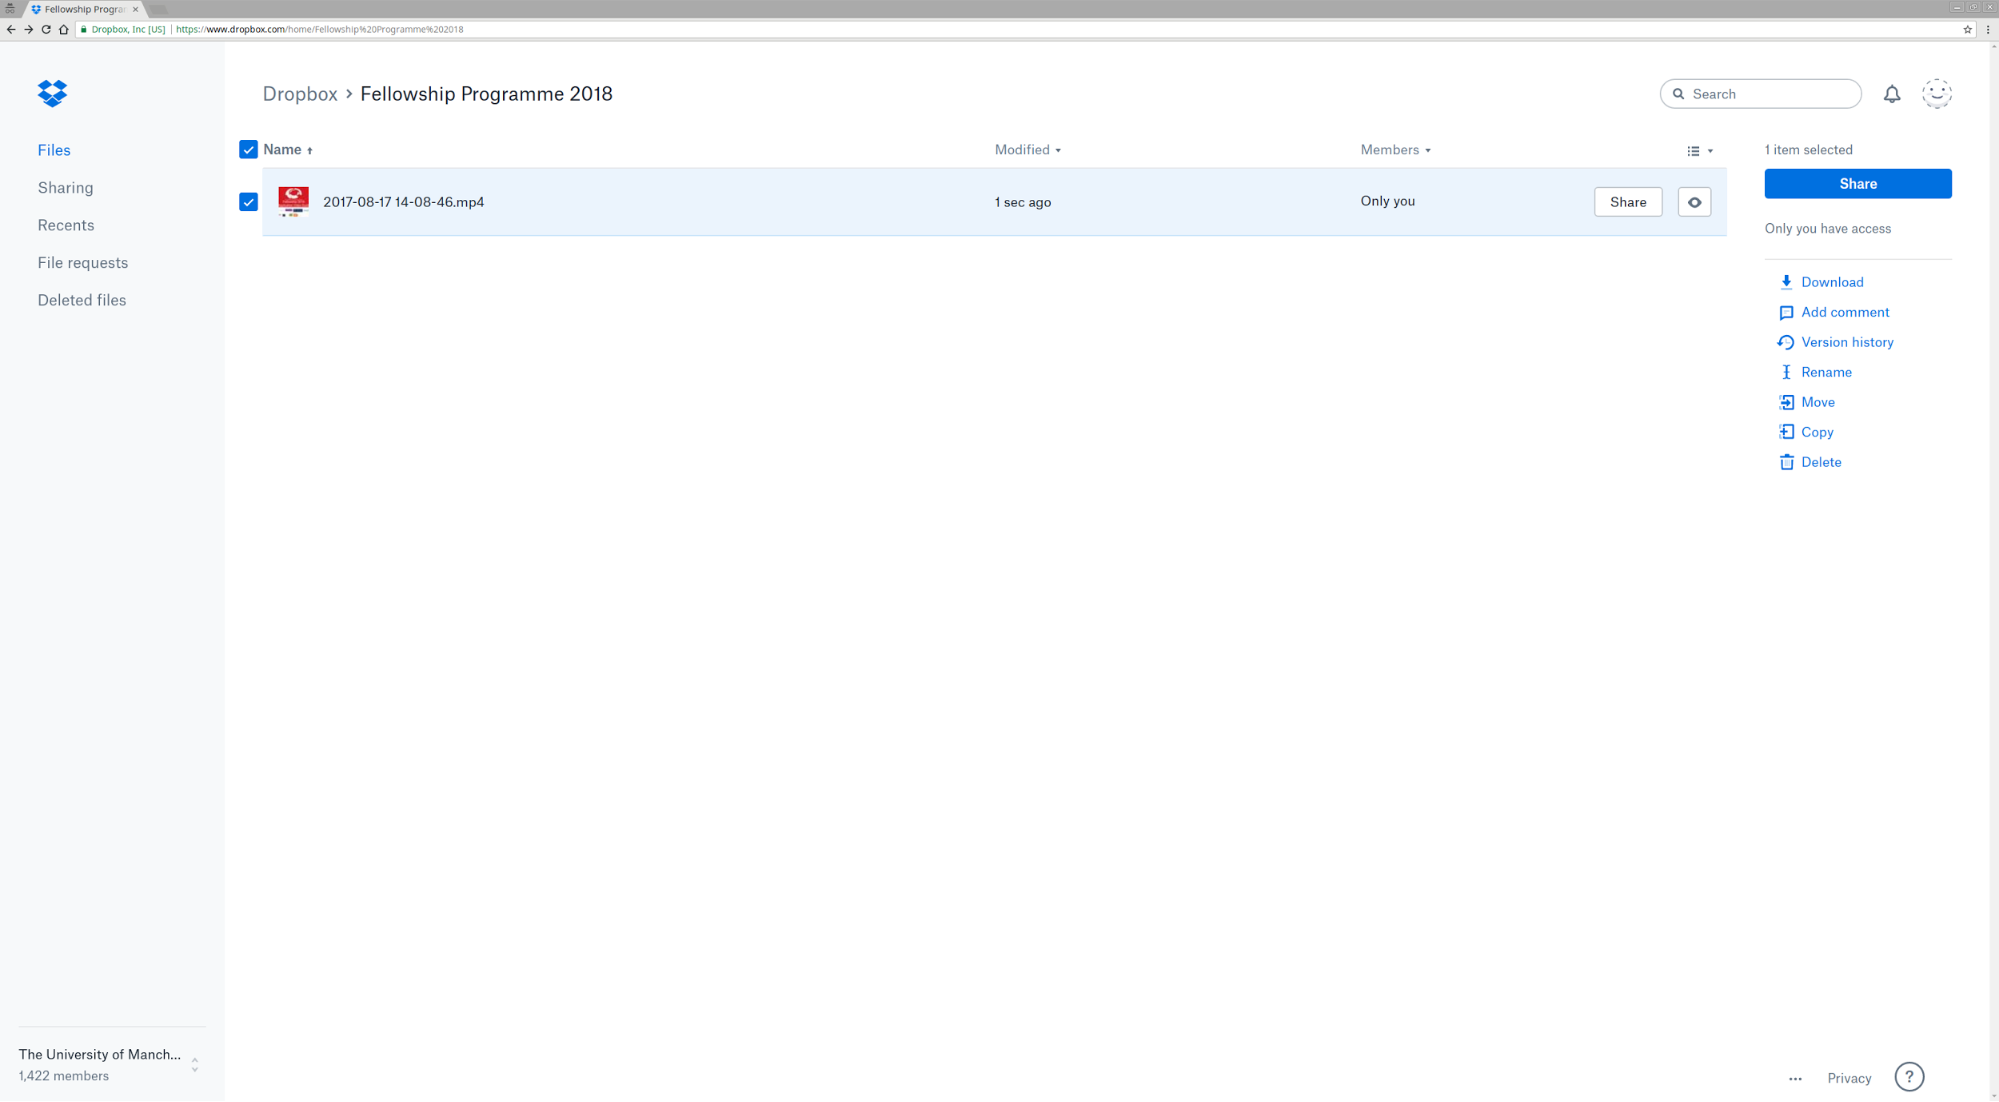
Click on the "Share" button.
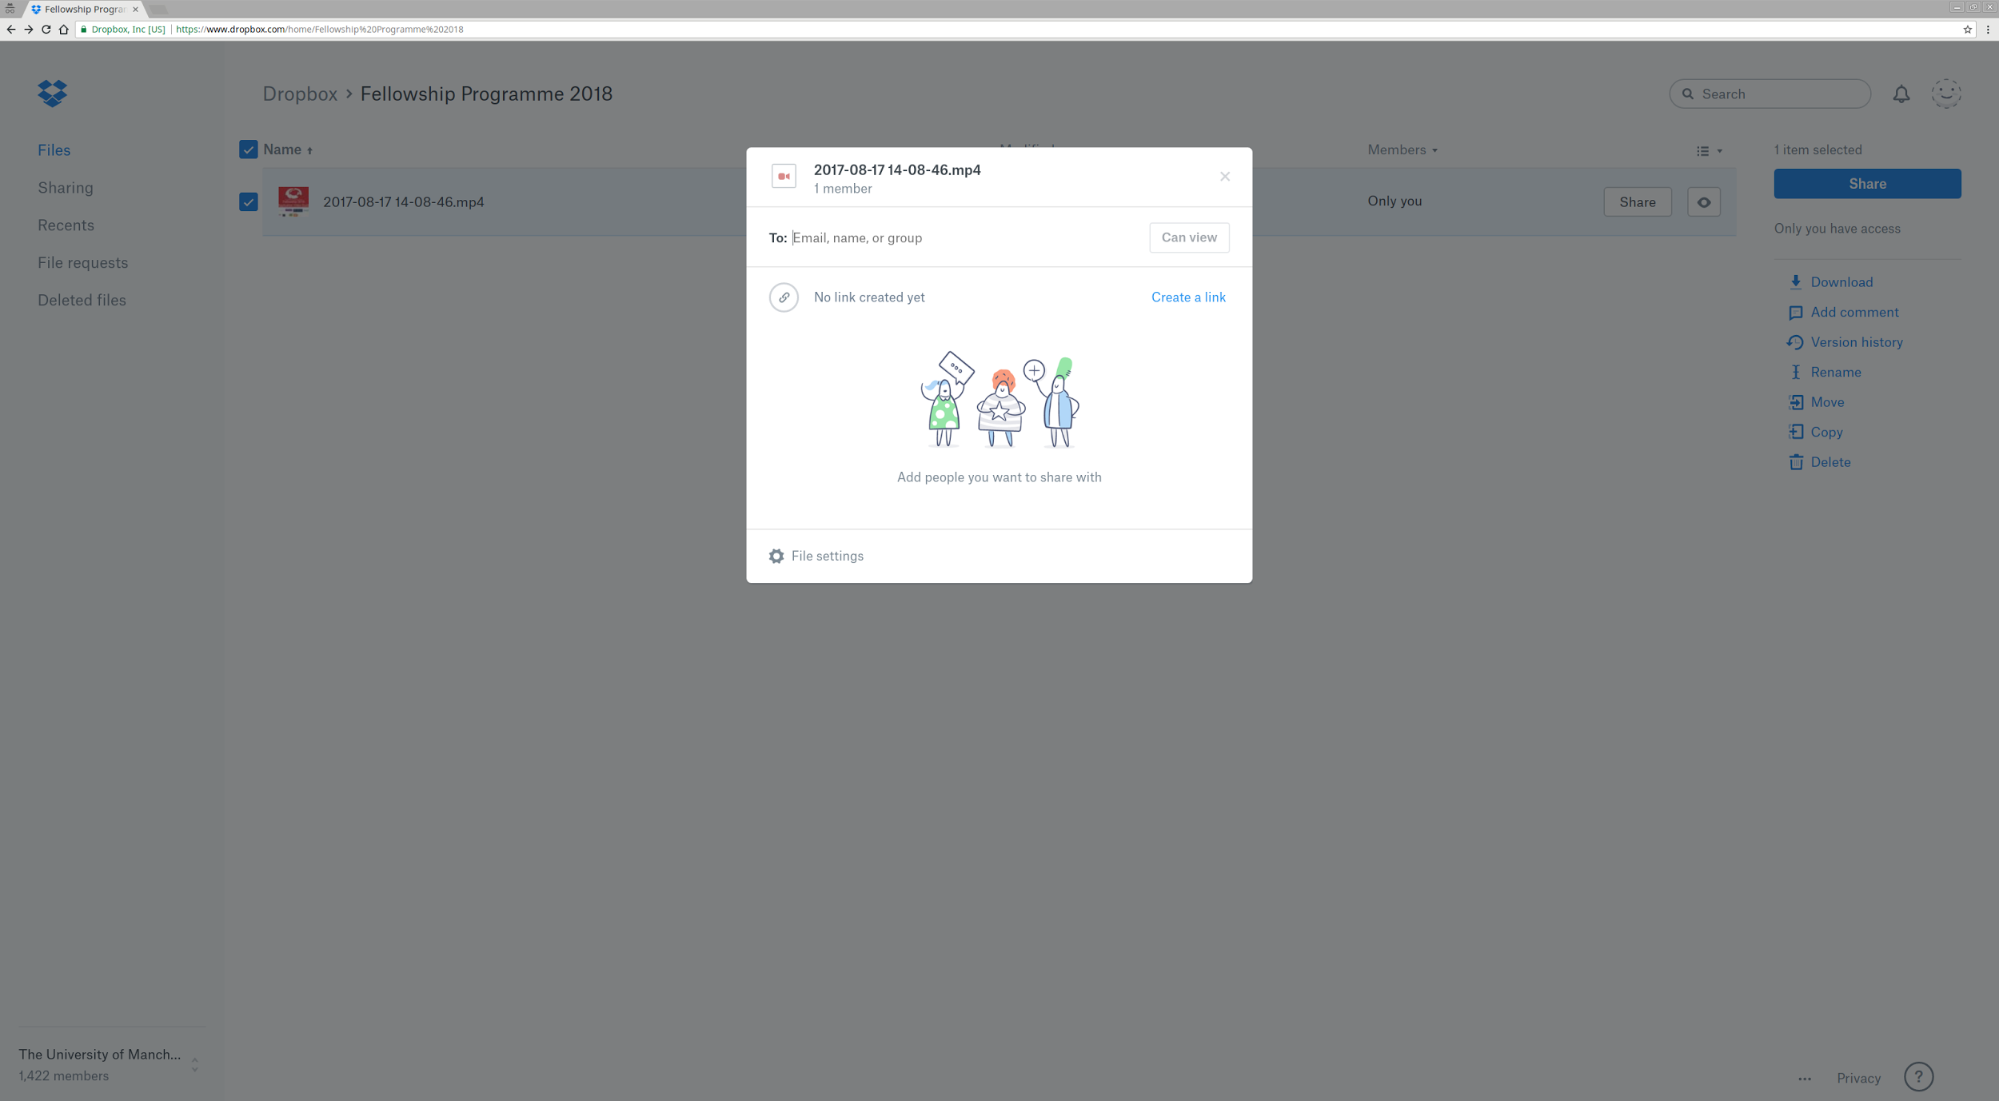
Click on "Create a link".
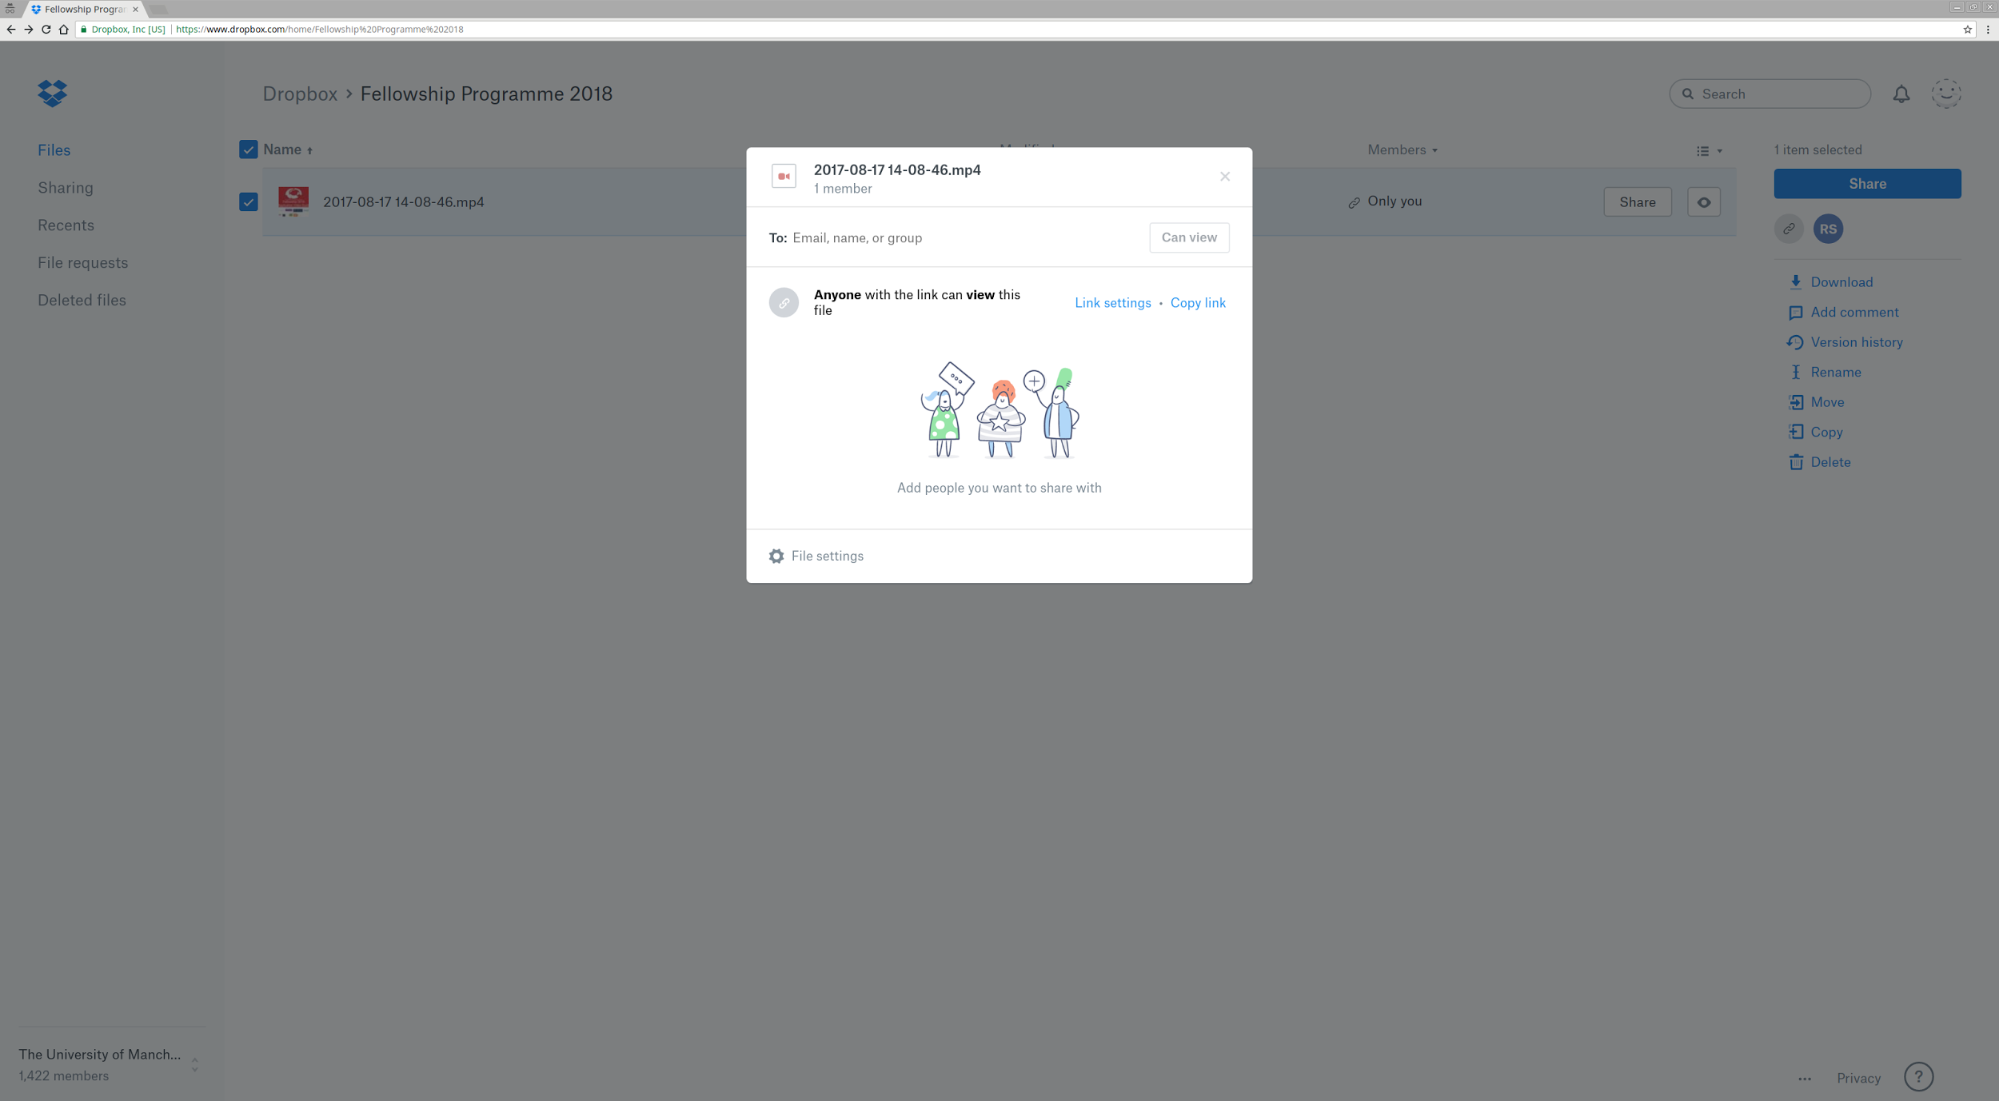
Click on "Copy link" and paste it on your application.
Note: We will append /download/ to the URL provided by you so that curl can download the file.
Back to the Fellowship Programme page